


Writing is fantasizing about what your film will be like. Shooting is reality. And the post-production is recovering the idea you had. – Nicolas Winding Refn
The above quote, at least in 2020, is NOT an exaggeration. We are now seeing people rolling out videos from drawing rooms because a third of the world’s population is effectively working from home.
Post-production is the third and last stage of video production but also the most crucial. All of your best photography skills and the story would come to nothing without it.
So how is post-production done? What’s the process? The following steps would help you see how post-production happens in order. Here are the steps of post-production:
- Get the rough cut
- Lock shots in place
- Sound mixing
- Add visual effects
- Add text or The Lower Third
- Colour correction
- Add title and end cards
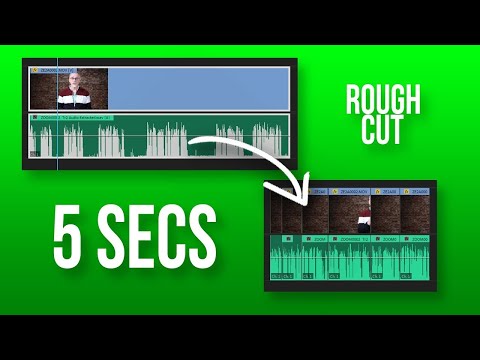
Step 1 Get The Rough Cut
This is the most painful part of the post-production process because it involves more organizing and less of creative work. Yet, this is where you will begin. You scourge through all your digital footages, categorize them and short-list the shots that you want to use. Basically, you want to take shots that go well with your storyline.
Part of this process is also to choose the editing format. There’s an array of options available when it comes to editing software, such as AVID, Adobe Premiere, Final Cut Pro. Go for a software that serves you the best. If you are an agency doing the production for your client or you are a company, a video editor does this job.
A good post-production agency will share the rough cut with its clients, get feedback and notes. Sharing the early cuts saves everyone a lot of precious time later.
Check out this great video on making rough cuts faster:
Step 2 Lock Shots In Place
Now is the time to lock all your shots in place, meaning, in order. This stage is called the picture lock. At this stage, your video is ready for visual effects and sound teams. But an important tip to remember is to always provide a lower quality mock-up of the visual effects shots.
For instance, the mock-up should say where some shots would be completely VFX or partially VFX. This helps the visual effects team to get on the same page and in turn aids the sound editing teams. It’s crucial to do this mock-up in the picture lock stage or else get prepared to re-work later.
Step 3 Sound Mixing
Since you now have the picture lock, it’s time to fill in the right sounds. On a video editing or sound mixing software, a video editor typically would edit different audio tracks for the video. The question is: what are the sound elements any video production has? First, there’s the dialogue if your story is such that your actors are speaking a scene, or there’s an interview where there’s an anchor and a guest answering questions etc. Second, some or all the parts of your video may need a voice over.
Then there are the various sound effects: sounds of things happening on camera – the sound of a doorbell, telephone ring, birds flying, trees swishing etc. Now you may have some separate audio files for some of these: for instance, a voice-over will have a different audio file outside of the video sound input. You now have to mix all of these sounds according to need and the storyline.
Pro tip: Pay special attention to all your audio inputs. Remember that sound quality equals a video quality. Your video won’t have the desired effect unless corroborated with the right sound and the right timing. Train your ears to mix sound better.
Step 4 Add Visual Effects
Most brand videos or adverts have some or the other kind of visual effects. They may look insignificant but they are crucial in rolling out an effective video. If you had mapped out your visual effects at Stage 1, this should not be a difficult process. In that case, the visual effects editors do a great job with it since they know where to put what. Ideally, your storyboard before the post-production process should have spelled out where and what kind of visual effects will go with the story.
Even when this wasn’t planned, if they were mapped out during the rough cut video, you can still make the best of visual effects into your story. Depending on whether you have things such as 3D or 2D animation, CGI modelling etc, you will need the skills of animators and visual effects editors.
Pro tip: Don’t use visual effects because your competitors are. Unless your effects add efficiently to your storyline, they are of no use. Check out how Canal Kitchen used visual effects:

Step 5 Add Text Or The Lower Third
A text or a shot that’s added to the lower third of the screen is called The Lower Third. The use of these lower third texts is to provide some relevant or additional information in the story that otherwise cannot be conveyed. For example, in a talk show, the lower third text may provide the name of the anchor and name of the guest.
Pro tip: Follow the general rule: less is more. The lower third texts must not be distracting. They must inform and emphasise not take away your story in the video. Some of the most professional New York production companies have used the lower third quite cleverly in their videos.
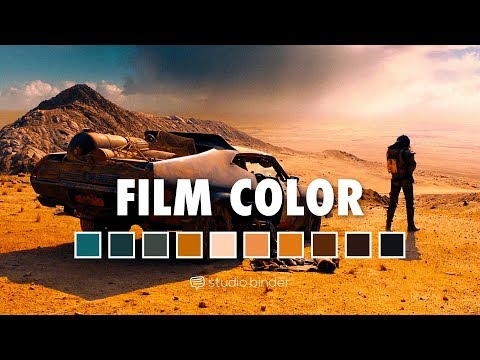
Step 6 Colour Correction
When your entire video is almost edited, the sound is in and visual effects are in place, you need to make sure every single factor of your video adds up. This means your video must ooze a certain mood suitable to the messaging. For instance, if you are advertising about coffee in your video, your video must look bright and full of energy. For this kind of effect, colour correction comes next in the post-production stage.
Colour correction also involves fixing lights where there were errors in exposures, fixing any overexposures or taking care of white balance. This process also helps in maintaining a consistent quality of your video.
Check out this really cool video for directors about understanding colour therapy:
Step 7 Add Title And End Cards
There are end credits in films and documentaries. Similarly brand videos to have end cards that are usually about the brand which is conveying the message. Now end cards or titles are not necessary but they do act as an additional reminder to the viewers about the brand or the last important message.
Sometimes, the end cards are just logos of the brand that stay in the viewer’s mind. End cards therefore, typically are names, logos or links of the brand your video is advertising.
Pro tip: Use end card to add a CTA – Call To Action. It can be ‘Hurry’ or ‘Shop Now’ or ‘Contact your nearest retailer’ – something that would make your viewers take action.
It’s All About Post-Production
Post-production is really a make or break for any brand video. A lot of times, post-production companies have saved the day for their clients who have spent lots of dollars in shooting the video. Many times the video does not come out the way it was intended so post-production stage offers a saving grace. However, when planned well, the post-production truly enhances and not just saves your video.
Enjoyed this Marketing.com.au article on video production? You may like these other articles: